Django is a robust web framework that allows you to develop secure and scalable websites in Python. You can incorporate complex backend functionalities into your website using Python syntax.
In this beginner-level Django tutorial, you will see how to create a Django project from scratch and add a simple login page. You will see how to create URLs, views, and templates in Django.
By the end of this tutorial, you will have a working authentication flow for your web projects. Let’s get right to it!
Installing Django and Creating a Django Project
To install Django, you have to run the following pip command.
pip install djangoNext, we will create a Django project named login_project using the following command. We add a dot . with the command since we want to create the project in the current working directory instead of creating a new folder.
django-admin startproject login_project .Once you run the above command, you should see the following directories created in your current folder.
Output:
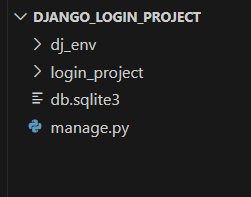
Next, we will run the Django server to see if everything is installed correctly.
python manage.py runserverOutput:

If you see the above message, your Django server started correctly.
Now open the following address in your browser http://127.0.0.1:8000/. If everything is installed correctly, you should see the following webpage.
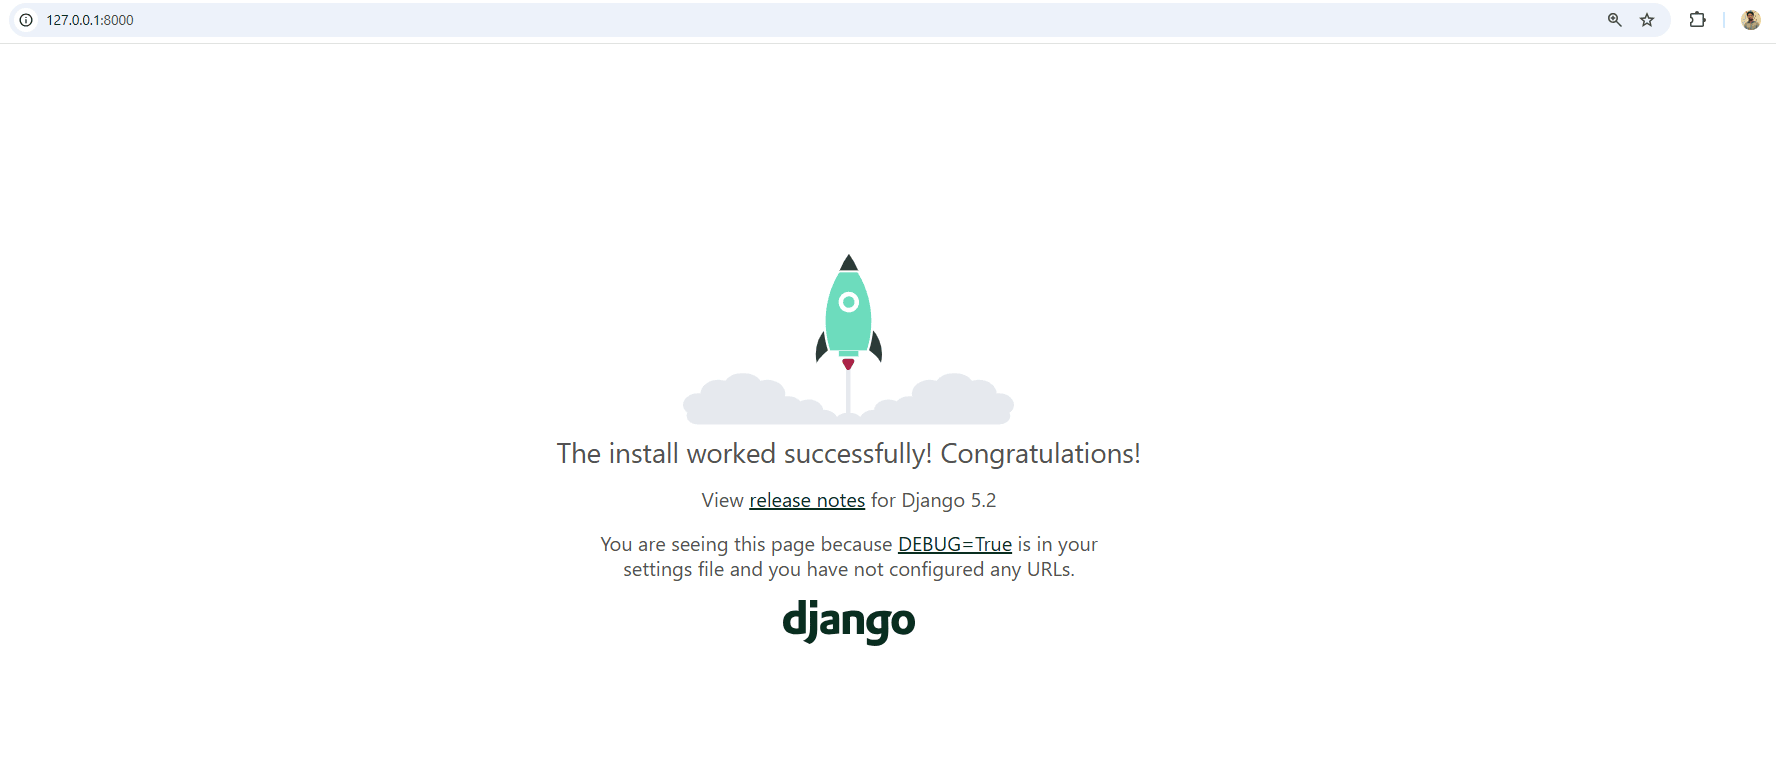
Creating the Login App
Next, we will create the Login App within the folder.
Django is a modularized framework that divides your application into different logical components. For the functionalities of our login app, we will create a separate folder called accounts. You can give it any other name if you want.
The following script creates the accounts folder.
python manage.py startapp accountsOutput:
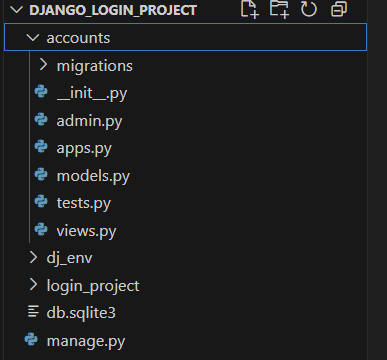
Django will create different files for your application by default, e.g. admin, models, views, etc.
You need to register the app you create in the INSTALLED_APPS list of your parent project directory’s settings.py file. In our case, this is the settings.py file in the login_project.
Output:

Creating URLs
Our login project will have a login page for users and a dashboard page to which they will be redirected if their login is successful. We need to create URLs for these two pages.
Create a urls.py file in the accounts folder and add the following code to create URLs:
from django.urls import path
from . import views

urlpatterns = [
    path('login/', views.login_view, name='login'),
    path('dashboard/', views.dashboard_view, name='dashboard')
]
The above specifies that when the login route is hit, the login_view method in the views file should be triggered. Similarly, the dashboard route will trigger the dashboard_view method.
Creating Views
Let’s define the above login_view and dashboard_view in the accounts/views.py file.
from django.shortcuts import render, redirect
from django.contrib.auth import authenticate, login
from django.contrib import messages
from django.contrib.auth.decorators import login_required

def login_view(request):
    if request.method == 'POST':
        username = request.POST.get('username')
        password = request.POST.get('password')

        user = authenticate(request, username=username, password=password)

        if user is not None:
            login(request, user)
            return redirect('dashboard')  # ✅ redirect to dashboard now
        else:
            messages.error(request, 'Invalid username or password.')

    return render(request, 'accounts/login.html')

@login_required
def dashboard_view(request):
    return render(request, 'accounts/dashboard.html')
The above script specifies that the login_view will receive the username and password and will perform some authentication. If authentication is successful, it will redirect the request to the dashboard view. Otherwise, it will raise an error message and stay on the login.html page.
The dashboard_view returns the dashboard.html page.
The next section will create the login.html and dashboard.html pages.
Creating Templates
To create HTML pages for login and dashboard, create templates\accounts folders inside the accounts folder.
The following script shows the HTML for the login.html page.
<!DOCTYPE html>
<html>
<head>
    <title>Login</title>
</head>
<body>
    <h2>Login</h2>

    {% if messages %}
        <ul>
        {% for message in messages %}
            <li>{{ message }}</li>
        {% endfor %}
        </ul>
    {% endif %}

    <form method="post">
        {% csrf_token %}
        <label>Username:</label><br>
        <input type="text" name="username"><br><br>

        <label>Password:</label><br>
        <input type="password" name="password"><br><br>

        <button type="submit">Login</button>
    </form>
</body>
</html>
The page contains text fields for username and password and a submit button. If authentication fails, the page also displays an error message.
Here is the content for the dashboard.html page, which prints a welcome message.
<!DOCTYPE html>
<html>
<head>
    <title>Dashboard</title>
</head>
<body>
    <h2>Welcome, {{ request.user.username }}!</h2>
    <p>You are now logged in.</p>
</body>
</html>
To summarize, when you send a request, it is passed to the corresponding URL, which triggers a view and renders the corresponding HTML template.
Registering Routes
Next, you need to register the URLs from the accounts in the parent director’s urls.py file, i.e. login_project. The urls.py file should look like this.
from django.contrib import admin
from django.urls import path, include

urlpatterns = [
    path('admin/', admin.site.urls),
    path('', include('accounts.urls')),
]
Creating Users and Testing the Application
We are now ready to create users and test our app. The first step is to create database tables that will store user information. The following script creates database tables.
python manage.py migrateOutput:
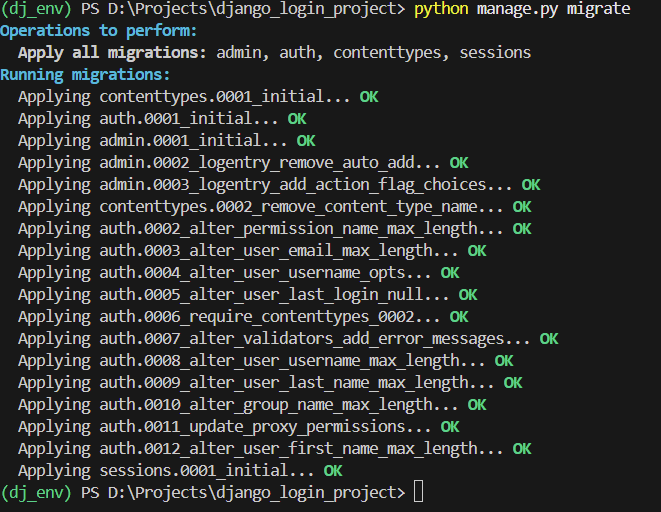
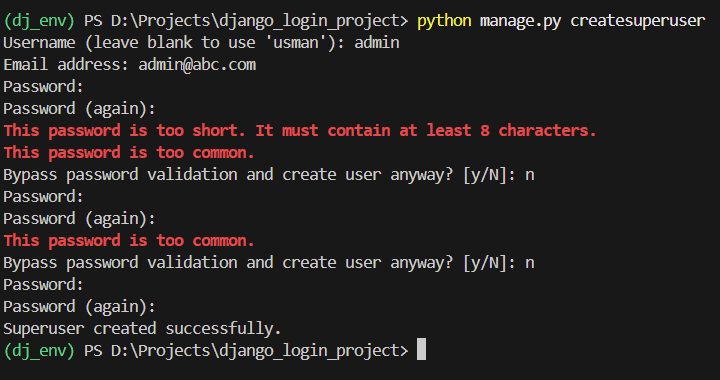
Next, run the following script to add users. By default, you must enter the username, password, and email. You can see from the output that you cannot just enter any password. Django enforces certain password requirements by default, such as minimum length and complexity, which you can see in the output.
python manage.py createsuperuserOutput:
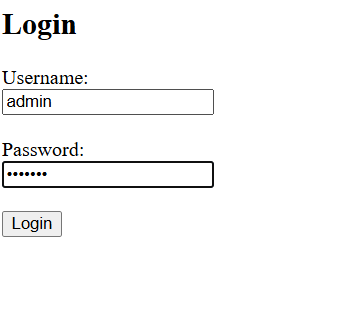
Run the Django server again using the following command: python manage.py run server and go to http://127.0.0.1:8000/login/ in your browser. You will see the following login page. It is straightforward since we are not using any CSS styling or javascript in this code.
Output:
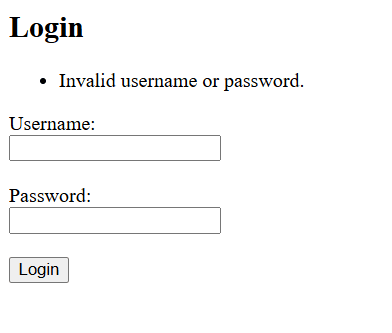
In case of failed authentication, you will see an error message.
Output:
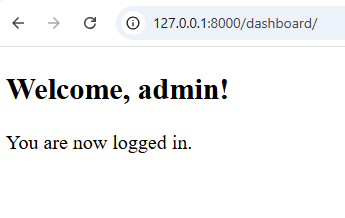
If authentication is successful, you will be redirected to the dashboard.html.
Conclusion
Django is a lightweight, beginner-friendly web framework that provides out-of-the-box implementations for common web development use cases, such as login and authentication.
In this article, you created a login page using the Python Django framework. You saw how to create URLs, views, and templates in Django and how to connect them to create a minimal working authentication application.
