Optical character recognition (OCR), sometimes called optical character reading, is the process of reading and converting text from images into a machine readable format like a string. Images of old documents, receipts, license plates, and house numbers can all contain useful text. Reading this text manually from images can be time-consuming and labor intensive. This is where OCR comes into play. OCR is an important task in computer vision as it allows automatic digitization of text from various sources.
In this tutorial, we’ll show you how to convert text from images into machine readable format with the help of the Python Pytesseract module. Pytesseract is a Python wrapper for Google’s Tesseract library for OCR. With the help of Pytesseract, we’ll be able to use Python to convert the words in an image to a string.
Installing the Google Tessearact OCR Engine
Before you can perform OCR in Python using the Pytesseract module, you need to first install the Tesseract OCR engine by Google. You can download the executable file for the Tesseract engine from GitHub.
Follow these instructions to install the OCR engine:
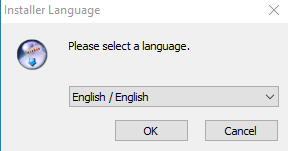
Once you open the exeutable file, you’ll have to first select a language.
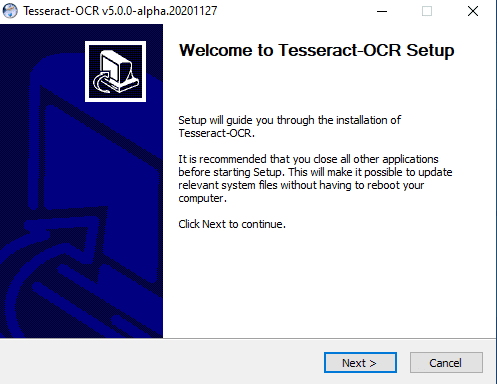
Click the “Next” button on the following dialog box.
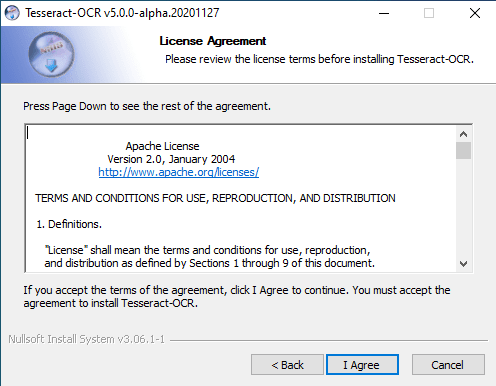
You’ll be presented with a license agreement, as shown below. Click the “I Agree” button if you agree to the terms.
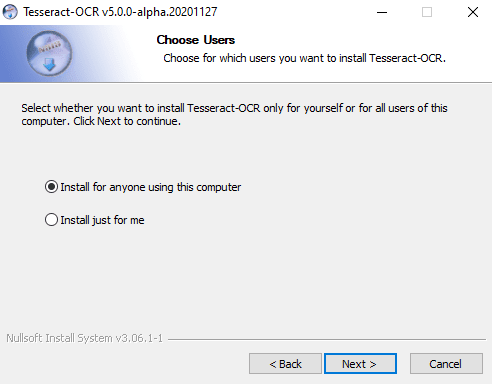
You can install the Tesseract library for all the users using your system or only for you. Choose the option you want from the following dialog box and click “Next” button.
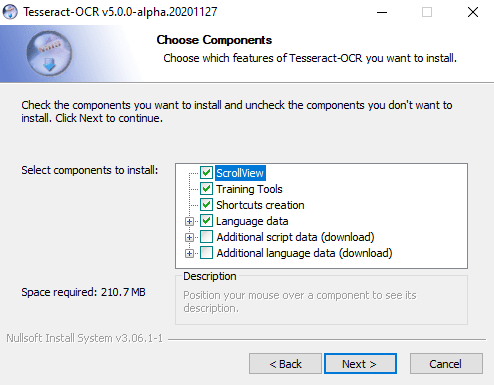
Next, select the components that you want to include in your installation package. I suggest keeping the default components and clicking the “Next” button.
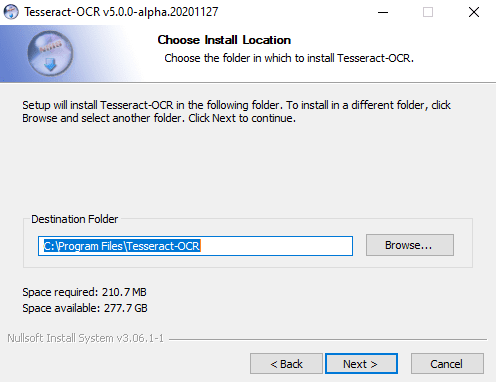
The next dialog box will ask you to specify the installation location. Set the installation location and click the “Next” button.
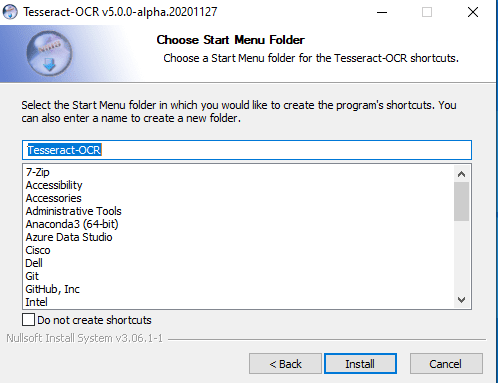
Select a Start Menu folder if you want from the following dialog box and click the “Install” button.
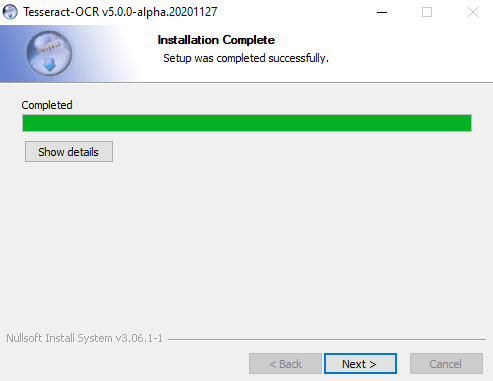
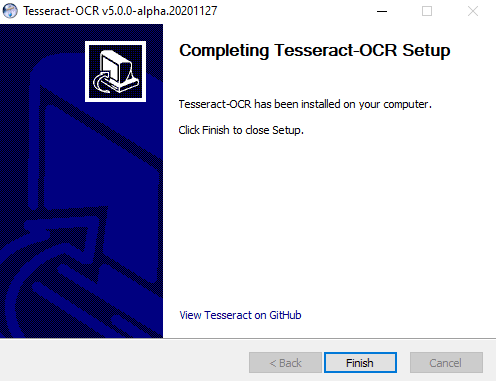
Installation will begin and you should see the following screen once the installation completes. Click the “Next” button.
Finally, to close the installation setup, click the “Finish” button on the last dialog box.
Installing Required Python Libraries
After Google’s Tesseract engine is installed, you need to install the Pytesseract and Pillow modules for Python. The Pytesseract module is a Python wrapper for the Tesseract engine you just installed. We’ll use the [Pillow library]/python/python-image-manipulation-with-pillow-library/) to import images in this tutorial. Execute the following pip commands on your command terminal to install the two required libraries:
$ pip install pytesseract
$ pip install Pillow
Reading Text From Images
We’re almost ready to read text from images. Before that, though, you need to import the Pytesseract and Pillow libraries, and you also have to specify the Path for your Tesseract engine.
The following script imports the required libraries:
import pytesseract as pt
from PIL import Image
The next script specifies the path for the Tesseract engine executable file we installed earlier. You need to update your path accordingly if you installed Tesseract OCR in a different location.
pt.pytesseract.tesseract_cmd = r'C:\Program Files\Tesseract-OCR\tesseract.exe'Code More, Distract Less: Support Our Ad-Free Site
You might have noticed we removed ads from our site - we hope this enhances your learning experience. To help sustain this, please take a look at our Python Developer Kit and our comprehensive cheat sheets. Each purchase directly supports this site, ensuring we can continue to offer you quality, distraction-free tutorials.
Reading a Car License Plate
For our first example, we’ll read the text from the following foreign car license plate image.
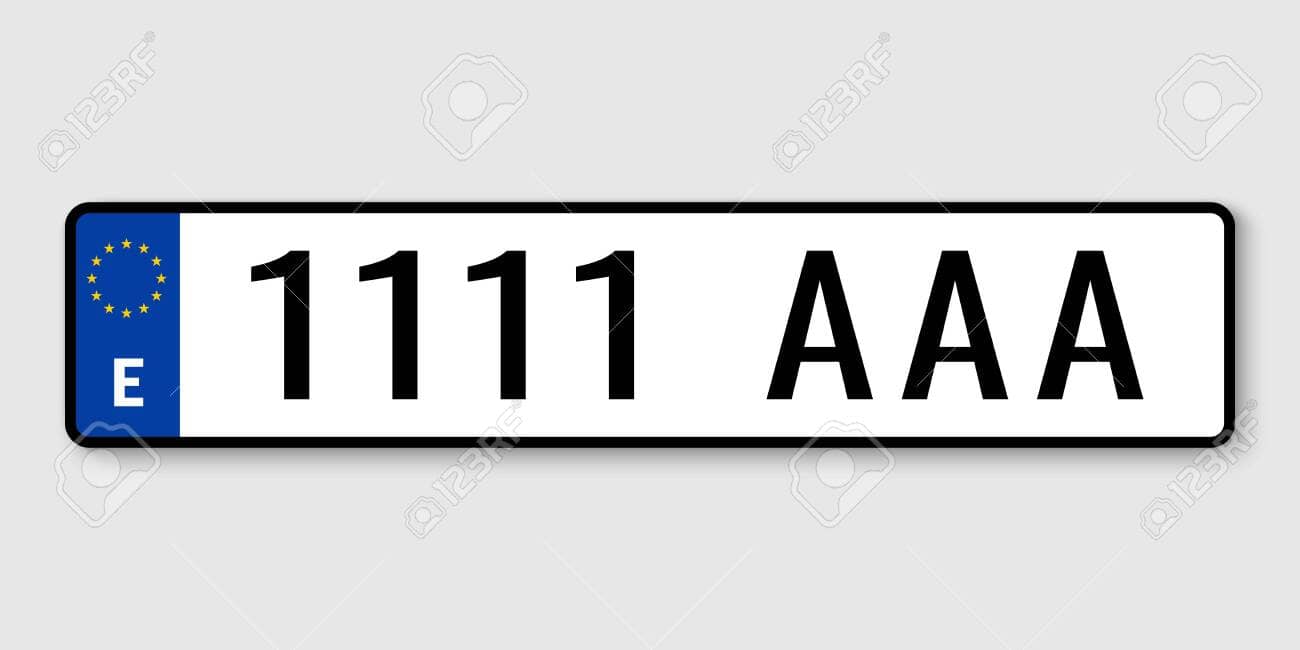
To read the text from an image the first step is to open the image. You can do so via the open() method from the Image object of the Pillow library. Next, to actually read the text from an image, you need to pass the image object you just opened to the image_to_string() method of the Pytesseract module. The image_to_string() method converts the image text into a Python string which you can then use however you want. We’re simply going to print the string to our screen using the print() method. Execute the following script to read the text from the car number plate image.
img_object = Image.open(r"C:/Datasets/car_reg.jpg")
img_text = pt.image_to_string(img_object)
print(img_text)
You’ll need to update the path of the image to match the location of the image you want to convert to string.
From the output below you can see that the number and characters from the number plate have been correctly read. However, in addition to numbers and characters, a leading digit 7 is also printed in the output. This is because the “E” at the left of the number plate is wrongly recognized as 7. The rest of the numbers and characters are correctly recognized.
Output:
71111 AAAThe output shows that though Tesseract OCR is capable of reading text from an image, it is not 100% correct. An accuracy rate of less than 100% is typical with all OCR engines, so don’t let this discourage you.
Reading Text from a Simple Image
For our second test, let’s try to read text from the following image.

The process is same as we showed in our last example. You have to first open the image and then pass the image object to the image_to_string() method of the Pytesseract module as shown below:
img_object = Image.open(r"C:/Datasets/name.jpg")
img_text = pt.image_to_string(img_object)
print(img_text)
The output below shows that the text “What is your name” has been successfully recognized. However, the pen at the top right of the image is recognized as the character A which is false. The output again shows that Pytesseract is capable of reading text but it is not 100% accurate.
Output:
What is A

your name ?
Reading a Simple Text Receipt
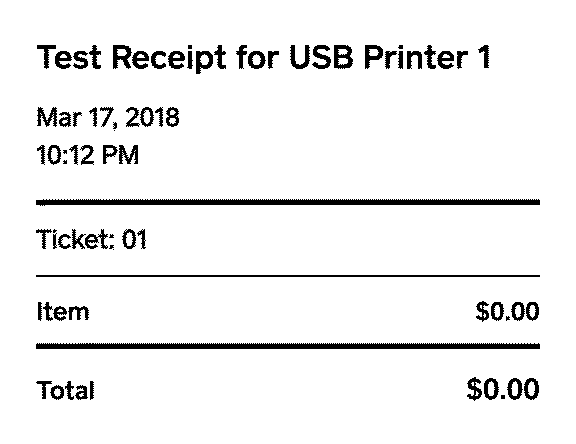
The Pytesseract module returns best results when reading a black and white image where text is in black font in front of a white background, like a picture or a scan of a normal piece of printed paper. Let’s try to read text from the image of a receipt where text is in black font in front of a white background. Here’s the receipt we’re going to use in this example.
Execute the following script to read the text:
img_object = Image.open(r"C:/Datasets/receipt.png")
img_text = pt.image_to_string(img_object)
print(img_text)
As expected, from the output below, you can see that the text has been recognized with 100% accuracy.
Output:
Test Receipt for USB Printer 1

Mar 17, 2018
10:12 PM


Ticket: 01


Item $0,00

Total $0.00
Code More, Distract Less: Support Our Ad-Free Site
You might have noticed we removed ads from our site - we hope this enhances your learning experience. To help sustain this, please take a look at our Python Developer Kit and our comprehensive cheat sheets. Each purchase directly supports this site, ensuring we can continue to offer you quality, distraction-free tutorials.
